10 Canva Tips and Tricks Every Solopreneur Should Know!
Table of Contents
ToggleSharing is caring!
Reading Time: 5 minutes


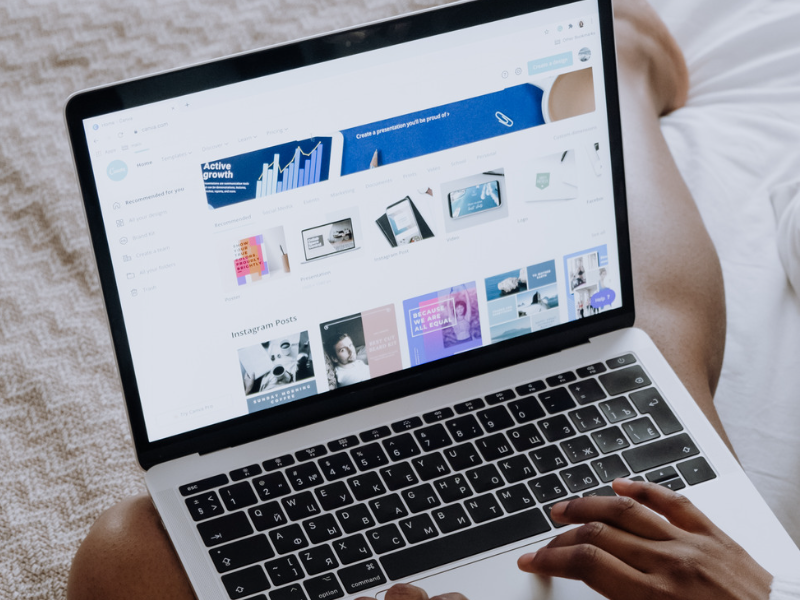
As one of the most popular graphic design tools, Canva is the app of choice for creating professional-looking designs for content creation. With Canva, you can create social media posts, presentations, business cards, blog post images, email marketing visuals, and infographics of all kinds!
Canva is incredibly user-friendly, but several hacks will help you make the most out of this app. How to create even more stunning visuals? Here are Canva hacks that every solopreneur should know:

10 Canva Tips and Tricks Every Solopreneur Should Know
Magic resize
According to Canva, Magic Resize takes the guesswork out of resizing visuals and documents, and it's true. It enables you to resize images for multiple formats using pre-set dimensions. This tool saves you time because it lets you create perfectly-sized visuals for Twitter, Facebook, Instagram, Pinterest, etc. This tool is a part of Canva Pro's subscription bundle.
To use this tool, click the Magic Resize button on the top toolbar. Choose the size from the drop-down menu, then click “Resize.” That's it; the image will be resized according to your chosen pre-set dimensions.
Create and save DIY templates
On Canva, you can create and public your own templates using free or Pro tools. You can make these visuals to contribute to Canva's visual library so other people can use your designs or as brand templates if you want to use the same visuals repeatedly for branding.
Create the image on Canva's photo editor and choose the dimensions, background colour, font style, copy, and other branding elements to make the image visually appealing. You can use your branding elements by uploading these on Canva and adding it as you edit a photo.
If you have plans to send in your templates as a creator, apply here. The Canva team will review your application, and once approved, you can create templates and get paid monthly.
If you want to share your work with other Canva users without getting paid, upload the finished image after editing. On the editor side panel, choose the “Uploads” tab, then select “Upload Files,” choose what you want to upload, and you're done.
Explore Canva's brand kit feature
One of Canva's newest tools is the Brand Kit, which enables you to customise visuals to match your brand. The kit lets you choose your brand fonts, colours, and other branding imagery (logos, thumbnails, featured images, etc.) to create branded content. With this tool, you will save more time in your design process.
You can set up your Brand kit to keep the custom designs across your team. Click “Brand” from the homepage side panel to set up the Brand kit. On the brand kit tab, click “Add Brand Kit.” Key in your brand kit's name, hit “Create,” then set up your brand kit by uploading the logo, colour palette, and font style.
Restricting access to visual assets
Canva gives you control over who can access your visual assets or brand kits. This way, you can choose only what assets you want to share for stricter branding consistency and promotions.
You can set up the restrictions via Brand controls or Permissions. The limits can be set up individually for font style, brand colour, and specific content, along with design approval options to require approval before team members publish designs.
To restrict brand colours and fonts, click “Brand,” then choose “Brand controls,” and choose what you want to limit access to.
To restrict access to your Canva content, click the gear icon and enter the Account settings menu. Click Permissions > Canva Content > then toggle the slider buttons to restrict access to specific content elements (photos, videos, music, elements)
Explore the “Permissions” page, and you can also restrict apps and uploads. You can also restrict scheduling and publishing and disable access to the template library.
Use Canva keyboard shortcuts
Learning Canva's keyboard shortcuts makes the design process much easier and quicker. You might already know the basic Ctrl+Z or Ctrl+A shortcuts, so here are some that we think you'll often use for content creation:
- Click “L” to add a line to a document
- Click “R” to add a rectangle to a document
- Click “Shift + cmd/ctrl + “K” to switch text to upper case
- Click cmd/ctrl + “B” to switch to bold text
- Click “shift + cmd/ctrl + “G” to ungroup elements
- Click cmd/ctrl + “A” to choose items on layer
- Click “cmd/ctrl + “]” to send element forward
- Click “cmd/ctrl + “[“ to send element backwards
Add graphic comments
If you're using the Canva team feature, which is a part of Canva Pro's subscription, you can leave feedback on your visuals to speed up your workflow and keep important graphic infos in one place.
To add comments on a visual asset, click the page element you want to comment on. From the side of the page, click the “Add comment icon” and then type in your comment. You can mention specific team members with the “@” sign and select users from the list. You can also assign a comment to a team member by selecting the check box.
Create and export background image
Transparent background is unavailable in a free Canva membership. This feature is only available for Canva Pro. To create a transparent background, remove any image background or colour from the design template or set the background to white.
Just click the trash icon in the editor to delete the current background colour. To create and export the background, click the “Download” option from the top right-hand corner of the editor, right next to the “Share” button. Choose “File” type from the drop-down menu, then “PNG.” Check off “Transparent background,” click download, and you're done.
Uploading a background on an image
On Canva, you can add a solid-coloured, gradient, or video background to your visual assets.
To add a solid-coloured background:
- Click “Background” from the side panel of the editor.
- Click on a colour tile below the search bar to choose a colour to apply to the design.
- After selecting the colour, click the palette icon and add the new colour tile.
To add a gradient background to an image, click “Background” from the side panel of the editor, then key in “gradient” on the search bar. Hit enter, then click on the results to apply them to your design. You can edit the gradient colour by clicking the background colour tile above the editor toolbar.
To add a video to your design, go to the Videos tab and upload the video you want. Right-click the video, then select the “Set video as Background” or “Replace background” option.
Removing the background from an uploaded image
Removing the existing background of an image usually requires some Photoshopping skills, but on Canva, this only takes a couple of clicks.
Start by creating a template and uploading an image to Canva by clicking the “Upload” tab on the left-hand side of the editor. Choose what image to upload and add to your design. Click the image and choose “Effects” from the editor at the top of the screen, then click “Background Remover” at the top of the options. This tool will remove the background automatically.
Creating animated elements for your design
Canva lets you create, add, or edit animations on a design to make it visually engaging and eye-catching. You can also change or remove animations on an image. From the Canva editor, click “Animate” then “Page Animation”, and you'll be presented with options to add animations to your page.
To choose an animation for a selected page:
- Go to the “Page Animations” tab.
- If you want to add an animation to a selected element, choose from the “Element Animation,” “Photo Animations,” or “Text Animations” tabs.
- After applying the animation you chose, check the preview by hovering your mouse cursor over it and clicking on it to apply.
No doubt about it, Canva is one powerful photo editing tool that offers a range of features to help content creators design professional-looking visuals. With the hacks outlined above, we hope to have inspired you to start creating unique, visually exciting designs on Canva!
Most Popular Posts:
Sharing is caring!
[…] While it sounds as simple as that, there are technically more tips and tricks that every solopreneur needs. So keep reading on to learn everything you need to know about drumming up hype for your […]
[…] will go a long way when catching hiring managers' attention, and that's one of the things that make Canva such a popular content-creating platform. Canva has an impressive collection of resume templates. […]