How to Set Up a Successful Newsletter on Flodesk
Table of Contents
ToggleSharing is caring!
Reading Time: 4 minutes


For some, email marketing may seem like an outdated strategy, that no one wants to buy from businesses that send sales and marketing emails.
We beg to disagree.
Results do not lie: people buy from brands they trust. If you've been dutifully building a trusted brand, subscribers will always look forward to your email messages. And this goes regardless of the offer because we all love valuable, entertaining, and inspiring content.
Now it’s one thing to set up a newsletter and another to ensure its success. How do you create an impactful weekly newsletter that readers will love? How to set up a newsletter that converts? Let’s start with the right tools because these are just as important. Go with Flodesk if you haven’t already!

How to Set Up a Weekly Newsletter in Flodesk
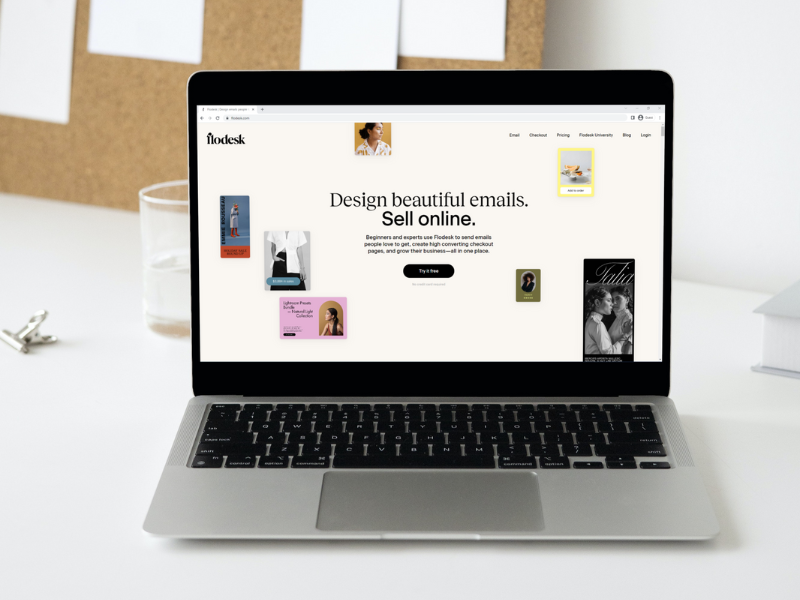
If you’re new to the service, you’ll be amazed at how easy it is to set up a newsletter in Flodesk. There’s no hard coding needed at all. If you want to try the service, get the free trial, then create your account. That’s the first step. Here’s a step by step guide on how to set a newsletter up on Flodesk:
Step 1: On your Flodesk account, click + New Email in the top right of your screen. Explore the templates until you find one that fits your brand. Ideally, choose a template that shows a quick summary of the newsletter to increase the chances of converting.
Step 2: Once you find a newsletter template that suits your brand, click “Customize” to stay on-brand. Click the empty images with your visuals. You can upload your own photos or stock images; it doesn’t matter as long as the pictures you use are high-quality and relevant to the content. You can add new blocks to the layout; just hover the spot where you want to add a block, then click the plus sign (+).
Once the visuals are done, click the text areas to add your own copy. You can choose the font style, font size, and text colors to match your brand colors.
PRO tip: Try choosing layout blocks. These collage-style blocks combine texts, images, and buttons into one image. You can link the entire block to the URL, and readers can click anywhere on the layout.
Step 3: After completing the copy and visuals, add relevant links to the buttons. Avoid broken links by double-checking to see if the URLs are working. Also, ensure that the correct URLs are linked to the right buttons. Continue editing your work until all the texts, images, and URLs are laid out perfectly.
Step 4: Once the newsletter template has been completed, you can send it right away or save it for mailing at a specified date. When you’re ready to send the email, click “Next” in the top right corner of your screen. Add your name and email address, then click “Continue.”
Add your subject line and preview text, which is a short description of the copy that appears right next to the subject line. Once that’s done, click “Continue,” then choose who to send the newsletter to. You can add the recipients one by one, upload a CSV. file or add a newsletter segment. Send the newsletter only to those who signed up for it; otherwise, you risk being marked as a spammer.
Before sending the newsletter to subscribers, send one to yourself and check if everything looks good. When everything looks good, you can send the newsletter right away or at a scheduled date.
PRO tip: Flodesk autosaves your work, so there’s no need to worry about losing a completed newsletter template.
3 Tips For A Successful Newsletter
You can expect to send a beautifully designed newsletter using Flodesk, but the content must be just as attractive. Here are ways to ensure the success of every newsletter you send to subscribers:
Opt-In Freebie
People would only give up their personal information if they’re getting something good out of it. Offering an opt-in freebie is the best way to turn casual visitors into subscribers! The freebie doesn’t have to be expensive, but it should be valuable. A small discount, a digital product, a mini-course, or a free trial is enough to convince most people to sign up for your newsletter. You can create a pop-up opt-in page for this, and there is a workflow you can create on Flodesk to streamline the delivery of the freebie in one process.
A Warm Welcome
To give the impression that you’re a total pro and provide a warm welcome to new subscribers, create a welcome sequence. This involves creating a series of emails to send out to new subscribers. On Flodesk, making a welcome sequence is virtually effortless. You don’t have to worry about the design because there are loads to choose from. Just take care of the copy and images (if needed), and you’re good to go!
Exclusive Content
What’s the point of signing up for your newsletter if you’re publishing all content on your website? Your newsletter should provide exclusive content to get people to opt-in. You can do product launches, flash sales, or offer limited-time promos to your subscribers. Essentially, you want subscribers to access content that others cannot. This is a great way to grow your tribe while nurturing business relationships.
On Flodesk, creating a weekly newsletter is almost effortless. Of course, to increase your chances of success, your newsletter should be engaging and valuable! With these tips, you can start your first newsletter and get a warm reception from readers.
Most Popular Posts:
Sharing is caring!
[…] you’ve made a habit of signing for every newsletter, webinar, or virtual summit invites, your inbox must be bursting with subscription emails and spam […]